Haunt Forum banner

Spawn Of Articulation....the Shadow Army...

1 reading
63K views 40 replies 23 participants last post by  bjpc2716  
#1 ·
Image


Image


Image


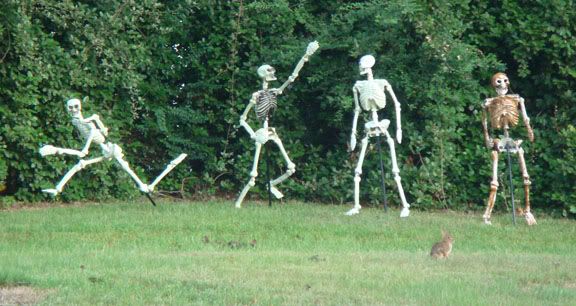
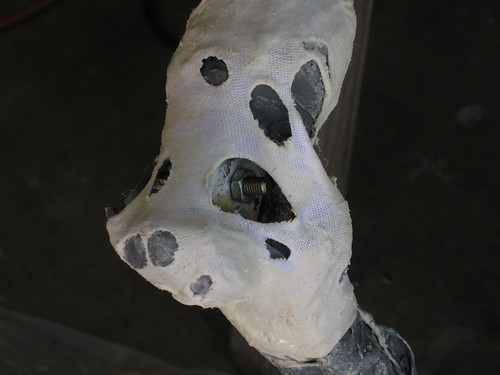
There will be 13 warriors in the SHADOW ARMY.....Here is a small group of warriors waiting to be painted and finished....
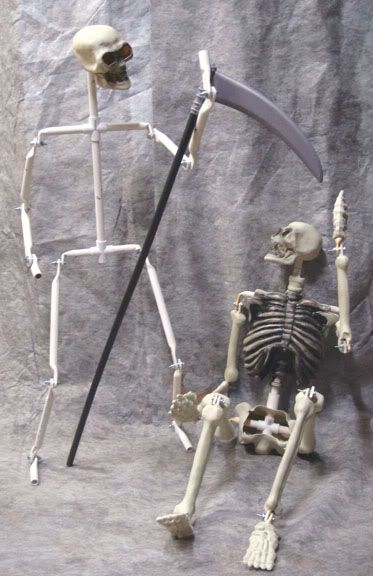
Yes,...that is THE killer bunny in my yard at about 7am one morning...I had to chase him away with the scythe to save the Spawn

OK haunters.....here is the way way that I did it

Image


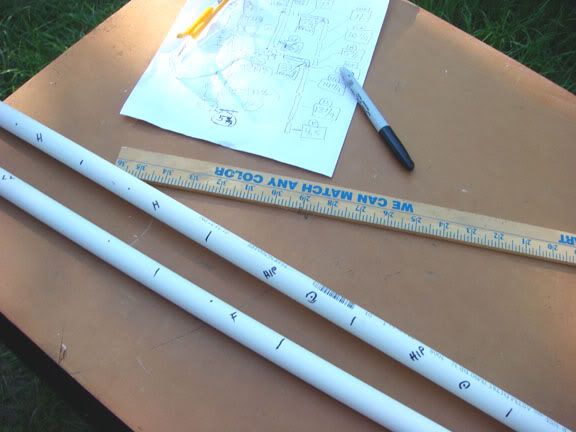
First thing is to work out all the measurements and then mark the PVC with all the cuts, flats, and bends. You can see on the drawing all the changes I made as I went along with the prototypes.

Image


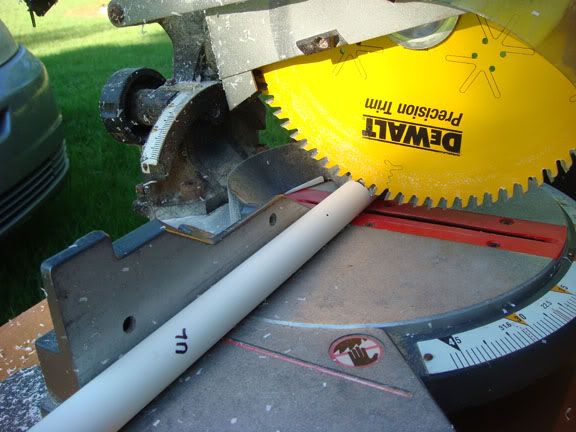
I like to use my little miter saw to cut up all the PVC
 
#2 ·
Image


Image


Every bone is marked with its position on the body...UL = Upper Leg....LL = Lower Leg...N = Neck.....

Image


The best way to bend PVC is HEAT.... And you could torch the outside surface of the PVC and bend it just fine, but the heating is inaccurate and the results just look bad

Image


SO....I baked the PVC from the inside....This a a 1/2" steel rebar from Lowe's ($4) that I heat up with 2 propane torches
When the steel rod is red hot, I slip the PVC over the rod and wait for the whole end to soften up...Keep rotating the PCV around the rod

Image


After a few minutes....(takes about 1.5 minutes) you will see lots of smoke and the PVC will swell up and start to bend under its own weight.
Slid it off the steel rod and lay it on the the log wedges for bending
 
#3 ·
Image


I used 2 large fans to push and pull the fumes away from me as I worked....once you get one big breath of the toxic fumes that come off of the PVC, you will use a fan also

Image


Image


These tools are designed to wedge timber when you cut trees with your chainsaw or they can be used to split firewood.
I used them here because I had them handy and they did what I wanted them to do. I'm sure that any number tools you have on hand can give you the same results.

Image


Image


I use a "dot" to mark the length of the flattened ends. (All are 2" except the "hips" which are 2 1/2")
 
#4 · (Edited)
Image


Clamp down the top wedge, and let the PVC cool into it's final position

Image


I used the weight of this extra clamp to hold the PVC in a straight line as it cooled

Image


Here you can see that I used a "dot" with a circle around it to tell me that I need to flatten AND bend this end....

Image


This piece is marked "N" for neck, and I used a string to hold it place while the PVC hardens (about 1 min)

Image


A quick rounding off of the rough edges at the grinder
 
#5 ·
Image


Every flattened end gets a 1/4" hole

Image


Image


Here is the hardware set up for all the joints....
I used...1/4" x 1 1/4" hex head bolt....1/4" flat washer....3/8" split lock washer.....nylon insert hex lock nut....

Image


I didn't have to tighten the joints too much as they really do not have to hold any weight

Image


This was the best way for me to open the blucky chest to place the arms and shoulders onto the spine
 
#7 · (Edited)
Image


Image


Image


I did add extra spacers to the Blucky to make them taller and look less "Neanderthal-ish"....here is the detail of the extra vertebrae made from 1" x 3" PVC, with a 1 1/4" x 1/2" ring glued together
I also added a 1" x 2" spacer to the neck

Image


I also extended the "hip" joints to add a little length to the legs

Image


The hands and feet and head are screwed into place....all the other Blucky parts are friction fit and slip over the PVC