

Howdy All. Well, our haunt has run quite successfully last weekend, and we have a few more days before running it again (Friday the 31st! Woo!) so I thought I would take a few to write a how-to on this years #1 prop: our Vortex Tunnel!
For those who have been reading my posts before, you know I like doing things as fast and as cheaply as possible. This year was no exception. Our Vortex Tunnel came in at around the $200 mark- which cheap(ish) for a 20' long prop people walk up, and through.
![Image]()
This year we were blessed and cursed. Blessed, because we had one of the largest stalls in the mall to decorate for our haunt, but cursed because we only had 7 days and 2 evenings available to do it. But darn it, I finally had the floor space to do a vortex tunnel, and I pity da foo that gets in my way!
![Image]()
I'll jump right into the bridge construction. We built the entire structure out of cheap 2x4's ("econostuds"), and 4 4'x8' sheets of 5/8 plywood. Everything was attached with wood screws- 3" if going into studs, 1 1/4" if screwing down plywood. The first 2 sheets of plywood were cut 3' wide (8' long). We used a full 3'x8' section on one side, with a 3'x4' on another, making our total bridge length 12'. We did this to match the length of our "driving tube", a 3" black PVC plumbing pipe.
For those who have been reading my posts before, you know I like doing things as fast and as cheaply as possible. This year was no exception. Our Vortex Tunnel came in at around the $200 mark- which cheap(ish) for a 20' long prop people walk up, and through.
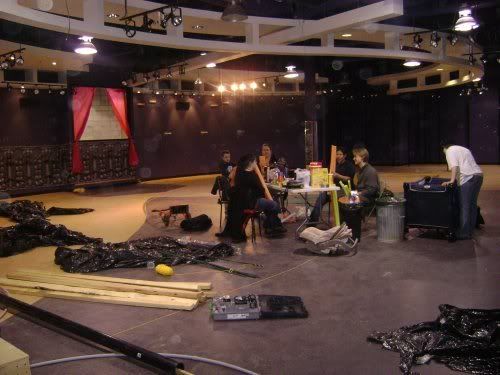
This year we were blessed and cursed. Blessed, because we had one of the largest stalls in the mall to decorate for our haunt, but cursed because we only had 7 days and 2 evenings available to do it. But darn it, I finally had the floor space to do a vortex tunnel, and I pity da foo that gets in my way!
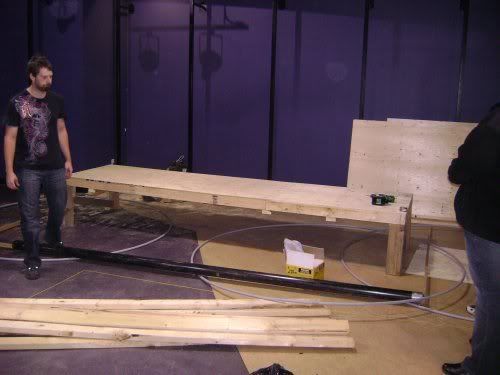
I'll jump right into the bridge construction. We built the entire structure out of cheap 2x4's ("econostuds"), and 4 4'x8' sheets of 5/8 plywood. Everything was attached with wood screws- 3" if going into studs, 1 1/4" if screwing down plywood. The first 2 sheets of plywood were cut 3' wide (8' long). We used a full 3'x8' section on one side, with a 3'x4' on another, making our total bridge length 12'. We did this to match the length of our "driving tube", a 3" black PVC plumbing pipe.

") If length is an issue as well, it will do wonders to put in mirrors on each end, to give an "endless tunnel" spinning tube.
If length is an issue as well, it will do wonders to put in mirrors on each end, to give an "endless tunnel" spinning tube.


